
Difficulty Modes
DELTARUNE Fight difficulty modes explained: what actually changes between Standard, Brutal and Genocide runs, and how to prepare for each step up.
Introduction
The difficulty hub explains what actually changes when you move up the ladder in DELTARUNE Fight, because the answer is not what most players expect. There is no stat multiplier anywhere in the system. Bosses do not gain health, and your damage does not shrink. What changes is the layout of the fight itself: attack density rises, the safe gaps between patterns narrow, rotations run longer before a punish window opens, and recovery frames after a sequence are trimmed back. That is why a fight that felt comfortable on default settings can feel genuinely impossible one tier up without any number appearing to change. Pages here cover the standard ladder, the Brutal step used for most community showcase clears, and Genocide, the hardest tier documented in the current build, along with how to prepare for each before you commit a run to it.
Difficulty Tier Comparison
| Tier | Attack Density | Safe Gaps | Clear Expectation |
|---|---|---|---|
| Standard | Low | Generous and readable | Learn each boss in order |
| Brutal | High | Noticeably narrower | Most community showcase clears |
| Genocide | Very high | Very small throughout | Recorded per boss |
| Per-Run | Mixed by boss | Whatever you selected | Tiers can be mixed in one save |
Tier Details
Standard
The default ladder and the correct place to start
Brutal
The step that most showcase clears are recorded on
Genocide
The hardest tier documented in the current build
Per-Run Selection
Difficulty is chosen per encounter, not per save
Route Choice
Higher tiers are about approach, not endurance
Core Mechanics
The single most important thing to understand about difficulty in DELTARUNE Fight is that it is spatial rather than numerical. Raising the tier does not make a boss hit harder or take longer to kill; it changes how much safe space exists during a rotation and how long the gap is before the next sequence begins. In practice that means three measurable shifts. Attack density increases, so a smaller proportion of the arena is safe at any moment. Rotation length increases, so you have to survive more before a punish window opens at all. Recovery frames decrease, so the moment a sequence ends is far less forgiving than it was on the standard ladder. Because these three move together, difficulty scales faster than intuition suggests, which is why preparation is about drilling a route rather than about playing better in the moment.
Advantages
Layered difficulty done this way is far more useful than a stat slider. Because the higher tiers reuse the same attack vocabulary rather than inventing new mechanics, everything you learned on Standard remains valid, and the extra challenge is purely about execution and routing. That keeps practice transferable: time spent improving at one tier directly improves your performance at the next one rather than teaching a separate skill set. Selecting difficulty per encounter is the other major strength, because it lets a player keep a comfortable clear on one boss while pushing another, which prevents a single wall from stalling overall progress. Finally, having a documented highest tier gives the community a shared benchmark, so a Genocide clear is a meaningful claim rather than a vague one.
Challenges
The downside of spatial difficulty is that it is invisible. Nothing in the interface tells you that the safe gaps just got narrower, so a player moving up a tier has no signal explaining why the same fight now feels unfair, which is a common source of frustration and of mistaken reports that a boss is broken. The jump between tiers is also not smooth: Standard to Brutal is a significant step rather than a gradual ramp, and the gap to Genocide is larger still, so there is little middle ground for a player who has outgrown one tier but is not ready for the next. Documentation is thin at the highest level as well, because Genocide clears are recorded per boss by a small number of players and written routes are rare. Finally, because the tiers reuse content, the highest difficulty offers no new fights to learn, only tighter versions of existing ones.
Frequently Asked Questions
What is the hardest difficulty in DELTARUNE Fight?+
Do higher difficulties give better rewards?+
Should I switch to Brutal as soon as I can clear a boss?+
Quick Tips
Clear a boss without healing before you raise the tier. The compressed safe gaps on Brutal turn any reliance on mid-fight repairs into ended attempts, so the no-heal clear is the honest readiness gate rather than simply beating the fight once on the easiest available setting. Two consecutive no-heal clears is a stronger signal than one, because the second proves the route rather than the luck.
Rebuild your route when you change tier instead of reusing the old one. The sequences are identical, but the timing between them is not, and a path built around generous recovery frames will leave you standing in the wrong place at exactly the moment the next pattern fires. Rebuilding takes a few attempts and saves many more, since a stale route fails in ways that look like execution errors.
Attempt the hardest tier per boss rather than across the whole roster in one session. Genocide clears are stamina tests as much as skill tests, and fatigue shows up as missed tells long before it shows up as slower input, so short focused sessions are consistently more productive. Isolated attempts also make it easier to tell whether a failure came from the pattern or from fatigue built up earlier.
Featured
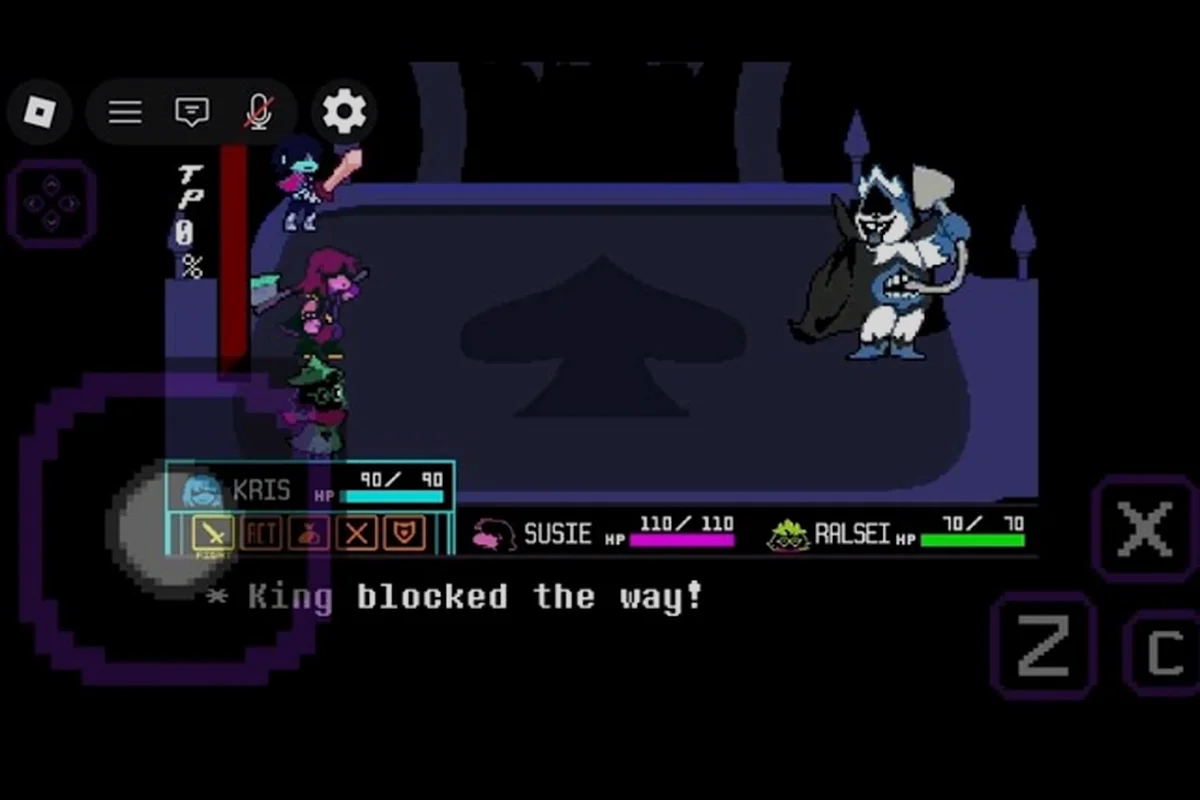
DELTARUNE Fight All Routes: Pacifist, Brutal & One-Hit Paths
Map out every DELTARUNE Fight all routes branch — pacifist, genocide, brutal, and one-hit mode — with tips for clearing each run and the bosses that gate them.
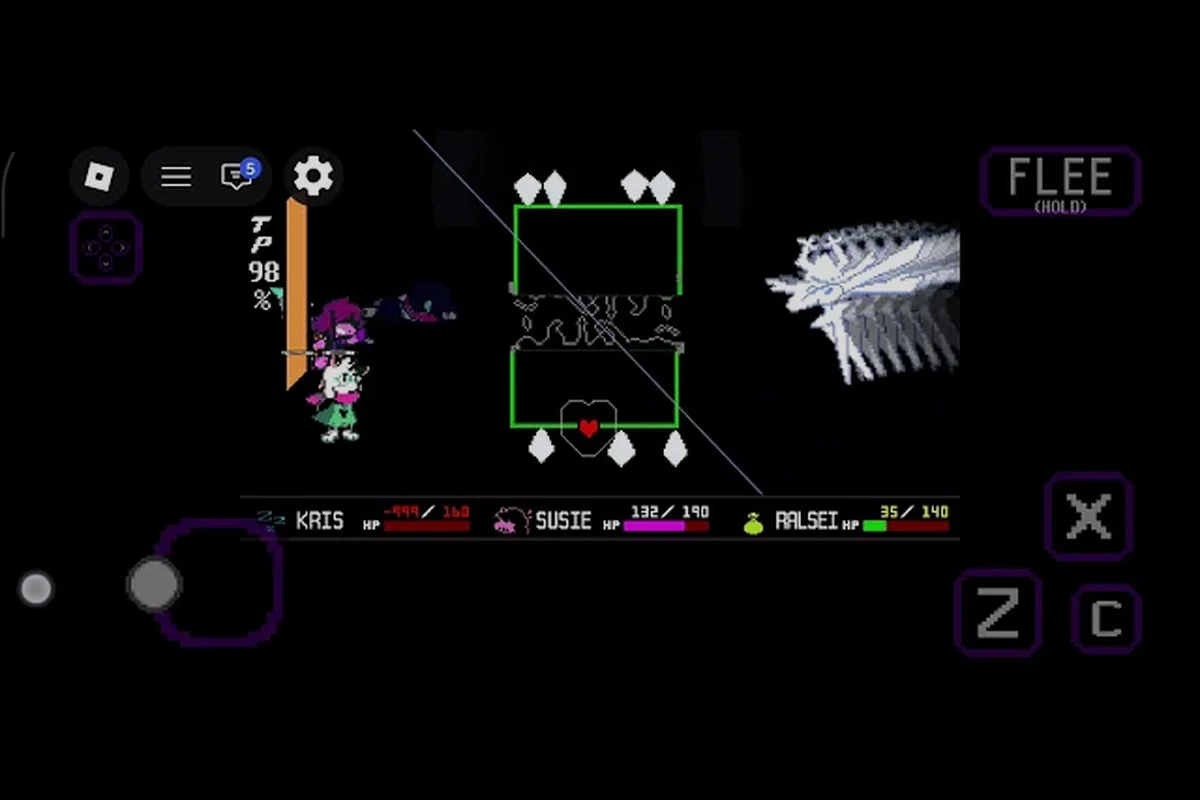
DELTARUNE Fight Difficulty Differences: Hardest Modes & Routes
Spot the real DELTARUNE Fight difficulty differences across Hard, Brutal, and Genocide, plus how pacifist and true pacifist runs reshape boss rewards on Roblox.
DELTARUNE Fight Difficulty Modes: Easy to Genocide Explained
Compare every DELTARUNE Fight difficulty modes tier — Easy, Normal, Hard, Brutal, and Genocide — with pattern changes and which one to pick first on Roblox.
All Articles
DELTARUNE Fight Brutal vs Genocide: Which Hardest Mode Wins
Stack DELTARUNE Fight brutal vs genocide side by side — damage scaling, attack density, and nightmare-tier clear times to pick the hardest mode worth grinding.
DELTARUNE Fight Challenge Modes: Settings, Rewards & Routes
Unlock every DELTARUNE Fight challenge modes tier, swap difficulty mid-run, and chase genocide or pacifist endings with their unique reward drops on Roblox.
DELTARUNE Fight Endless Mode: Boss Rush, No-Damage & Custom
Survive DELTARUNE Fight endless mode, boss rush, and no-damage runs with custom difficulty settings, permadeath rules, and survival tips for marathon sessions.